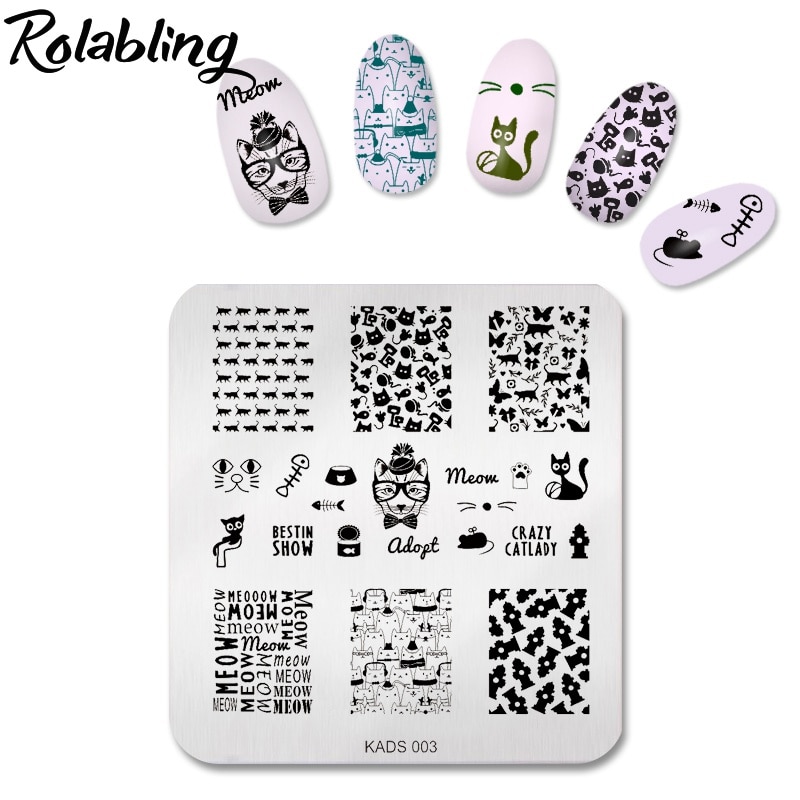
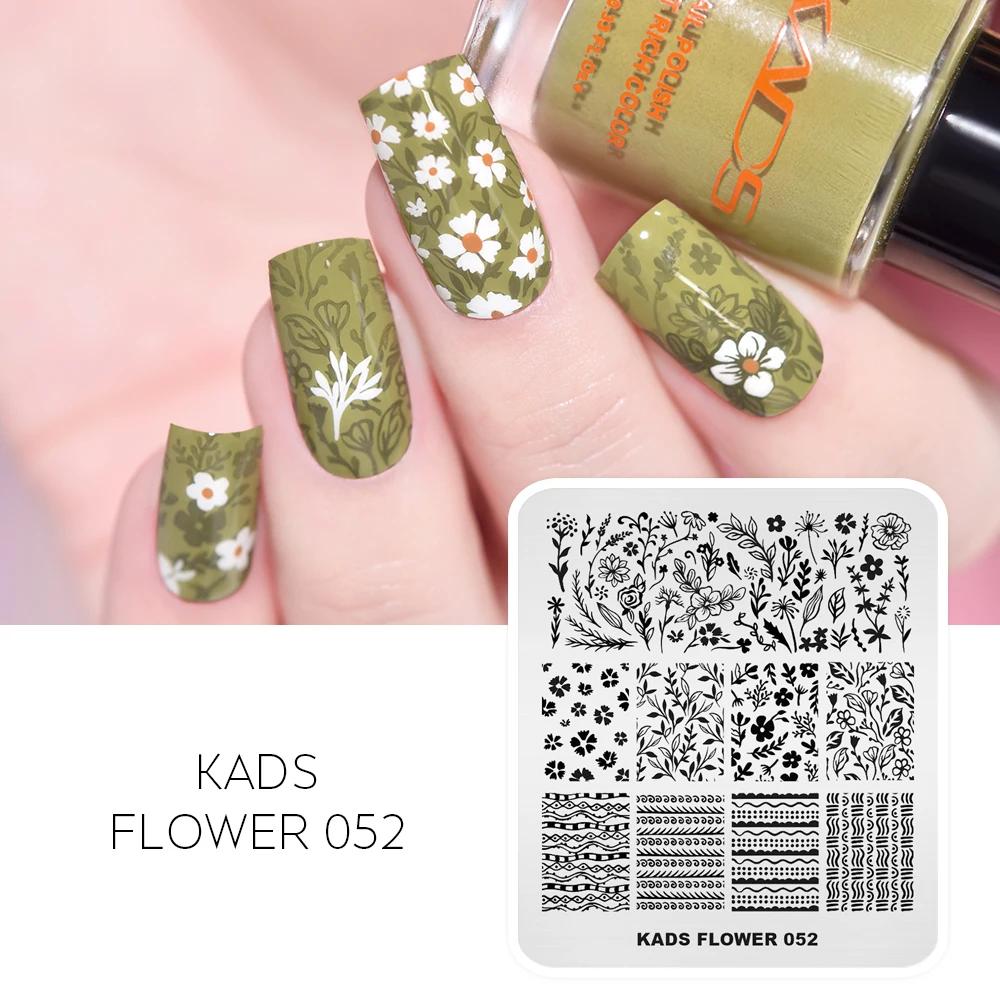
Our nail stamping plates allow anyone to get creative and add a little - or a lot - of nail art to their manicure!
Nail stamping plates offer the easiest and most cost-effective way to customize your manicure and the best part is - you can reuse them time and time again. Say goodbye to Jamberry or stickers that can peel off within minutes and hello to nail art that is as personal and unique as you are.
Specification:
It Make Your Nails Look Elegance and Special
Great for Both Professional Nail Specialist or Nail Art Learner
Suitable for your party or fashionable look
Diameter: 12x6cm
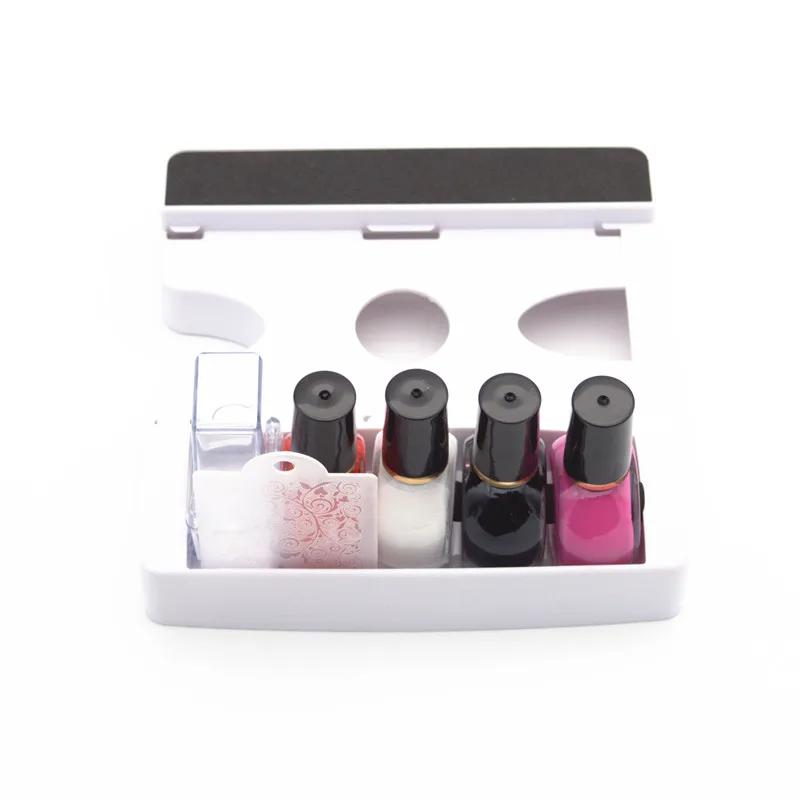
Package Contents :
1pcs Nail Art Template
Instructions:
The plate is shielded by a thin transparent protective film, please remove the film before use, so that the nail polish can be transferred by the stamper.


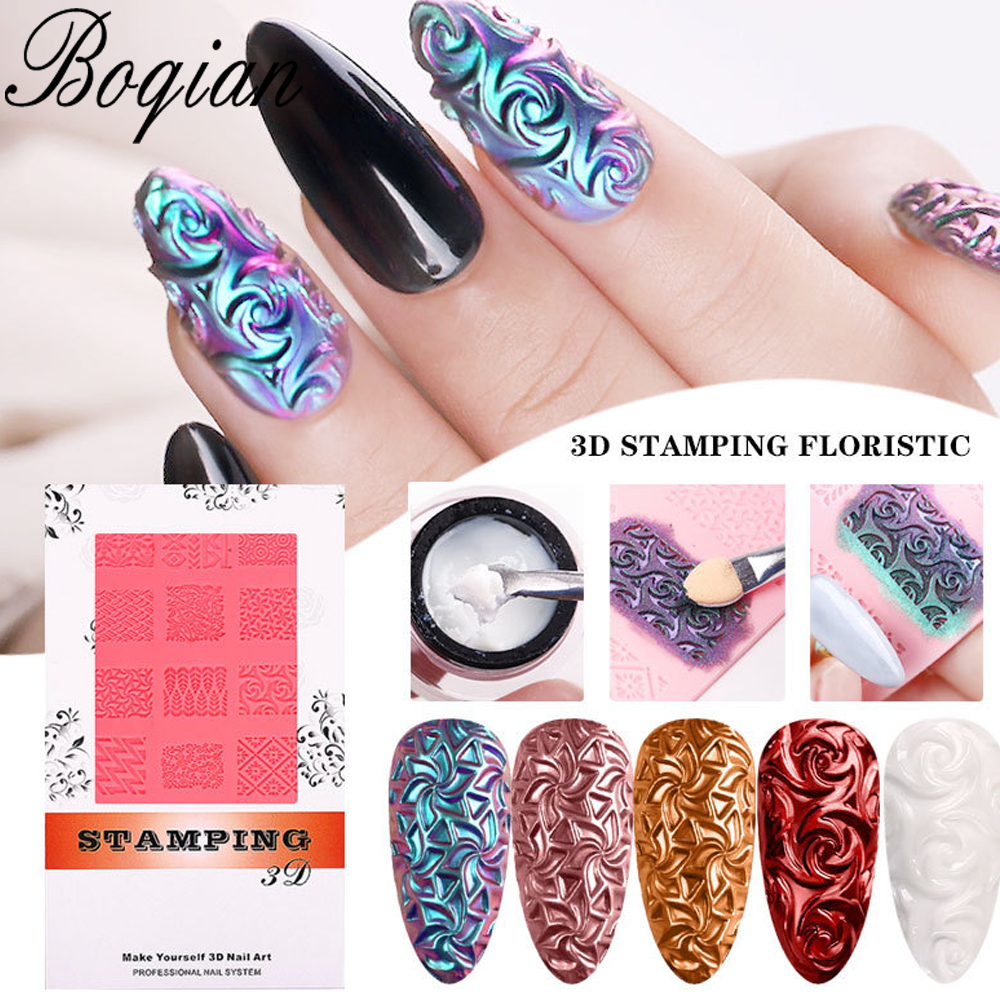
Instructions: The plate is shielded by a thin transparent protective film, please remove the film before use, so that the nail polish can be transferred by the stamper. Feature : 1. Apply base coat or regular polish on the nail. 2. Apply the nail polish to desired image within a plate. (Recommended: Use the Solid Color Nail Polish, so that the texture will be thicker than other nail polish) 3. Make a scraper leaned over 45 degrees and scrape excessive polish off quickly and strongly from inside to outside. 4. Immediately press the stamper with a gentle rolling motion to pick up the design. The image is transferred on the stamp. 5. Stamp the image on your nail with a gentle rolling motion. The image is transferred on your nail. 6. Repeat the above steps for all of your nails. 7. After stamping nail art, apply top coat for lasting wear.
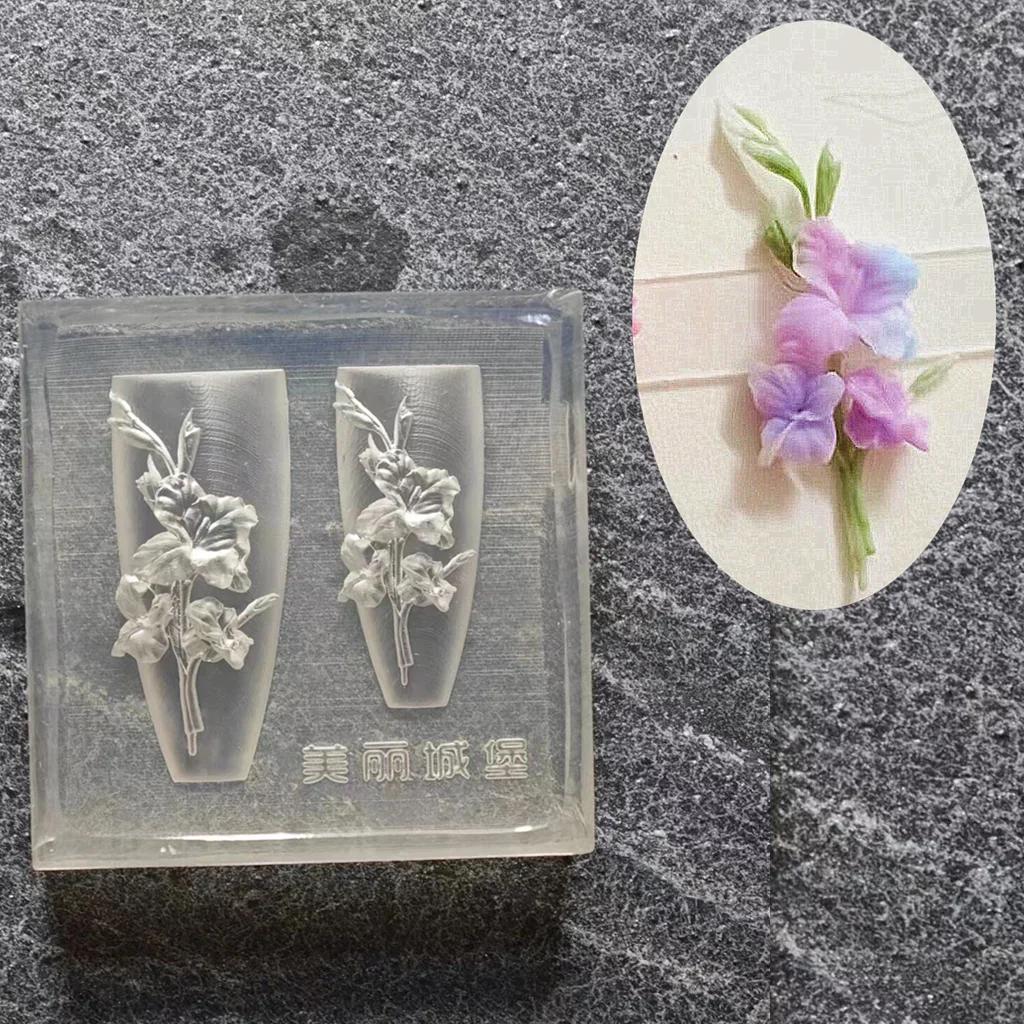
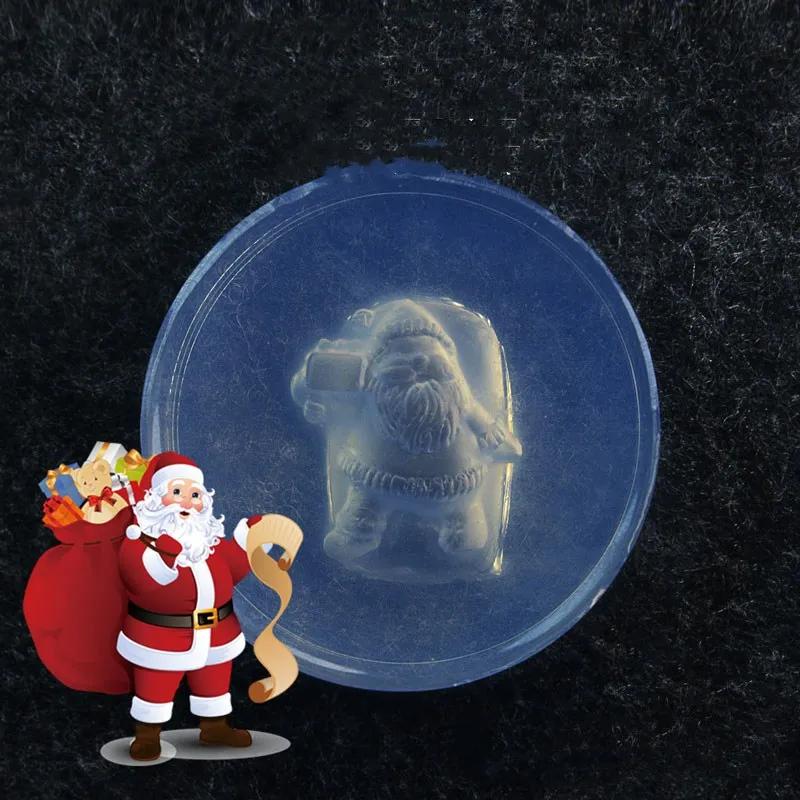
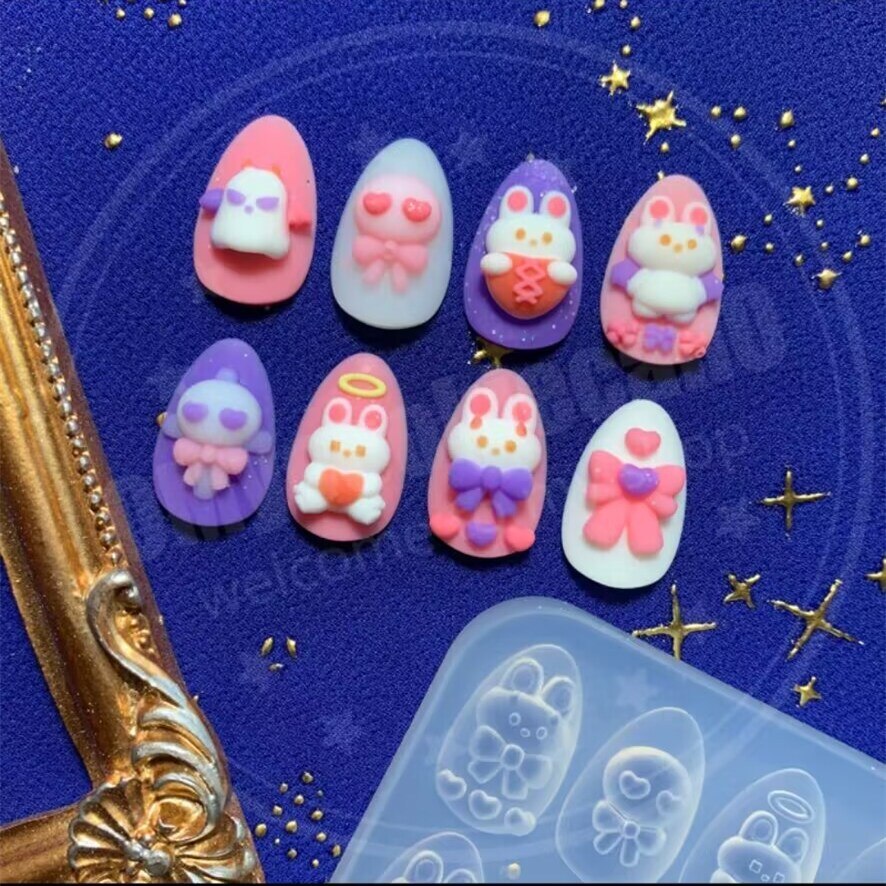
Chunky glitters are perfect to use as sprinkles for your nail art or decoden crafts projects. These are also fantastic to use in resin! These holographic glitters with a color change, they can add a splash of color to your resin creations, gel nails, crafts, glass works, tumblers, festival decorations. perfect for crunchy slime making, which will add more color and attraction as well as joy of creation, good for exercise kids coordination of brain and hands, also greatly inspire their creativity.very suitable for kid`s slime party! Works stunning for hair designs, face makeup, body painting for festival, party, wedding or music festival. Chunky Glitter for Acrylic Nails Art Prepare your nails with UV BASE COAT ,Paint your favorite color as the background color, and cure it under UV/LED lamp. Apply UV COLOR GEL.(DO NOT full-Dry) Use tweezers to remove and paste on nails in semi-dry condition Apply a layer of shiny oil to the nail shine to reinforce it, the shine is stronger. Cure it under UV/LED lamp. Seal it with UV TOP COAT and cure it under UV/LED lamp. Chunky Glitter for Resin Crafts Projects Mixed the resin and glitters accessories together Gently pour into the silicone molds Heat the surface of the resin with a lighter to remove air bubbles. Pick the resin works out from the molds
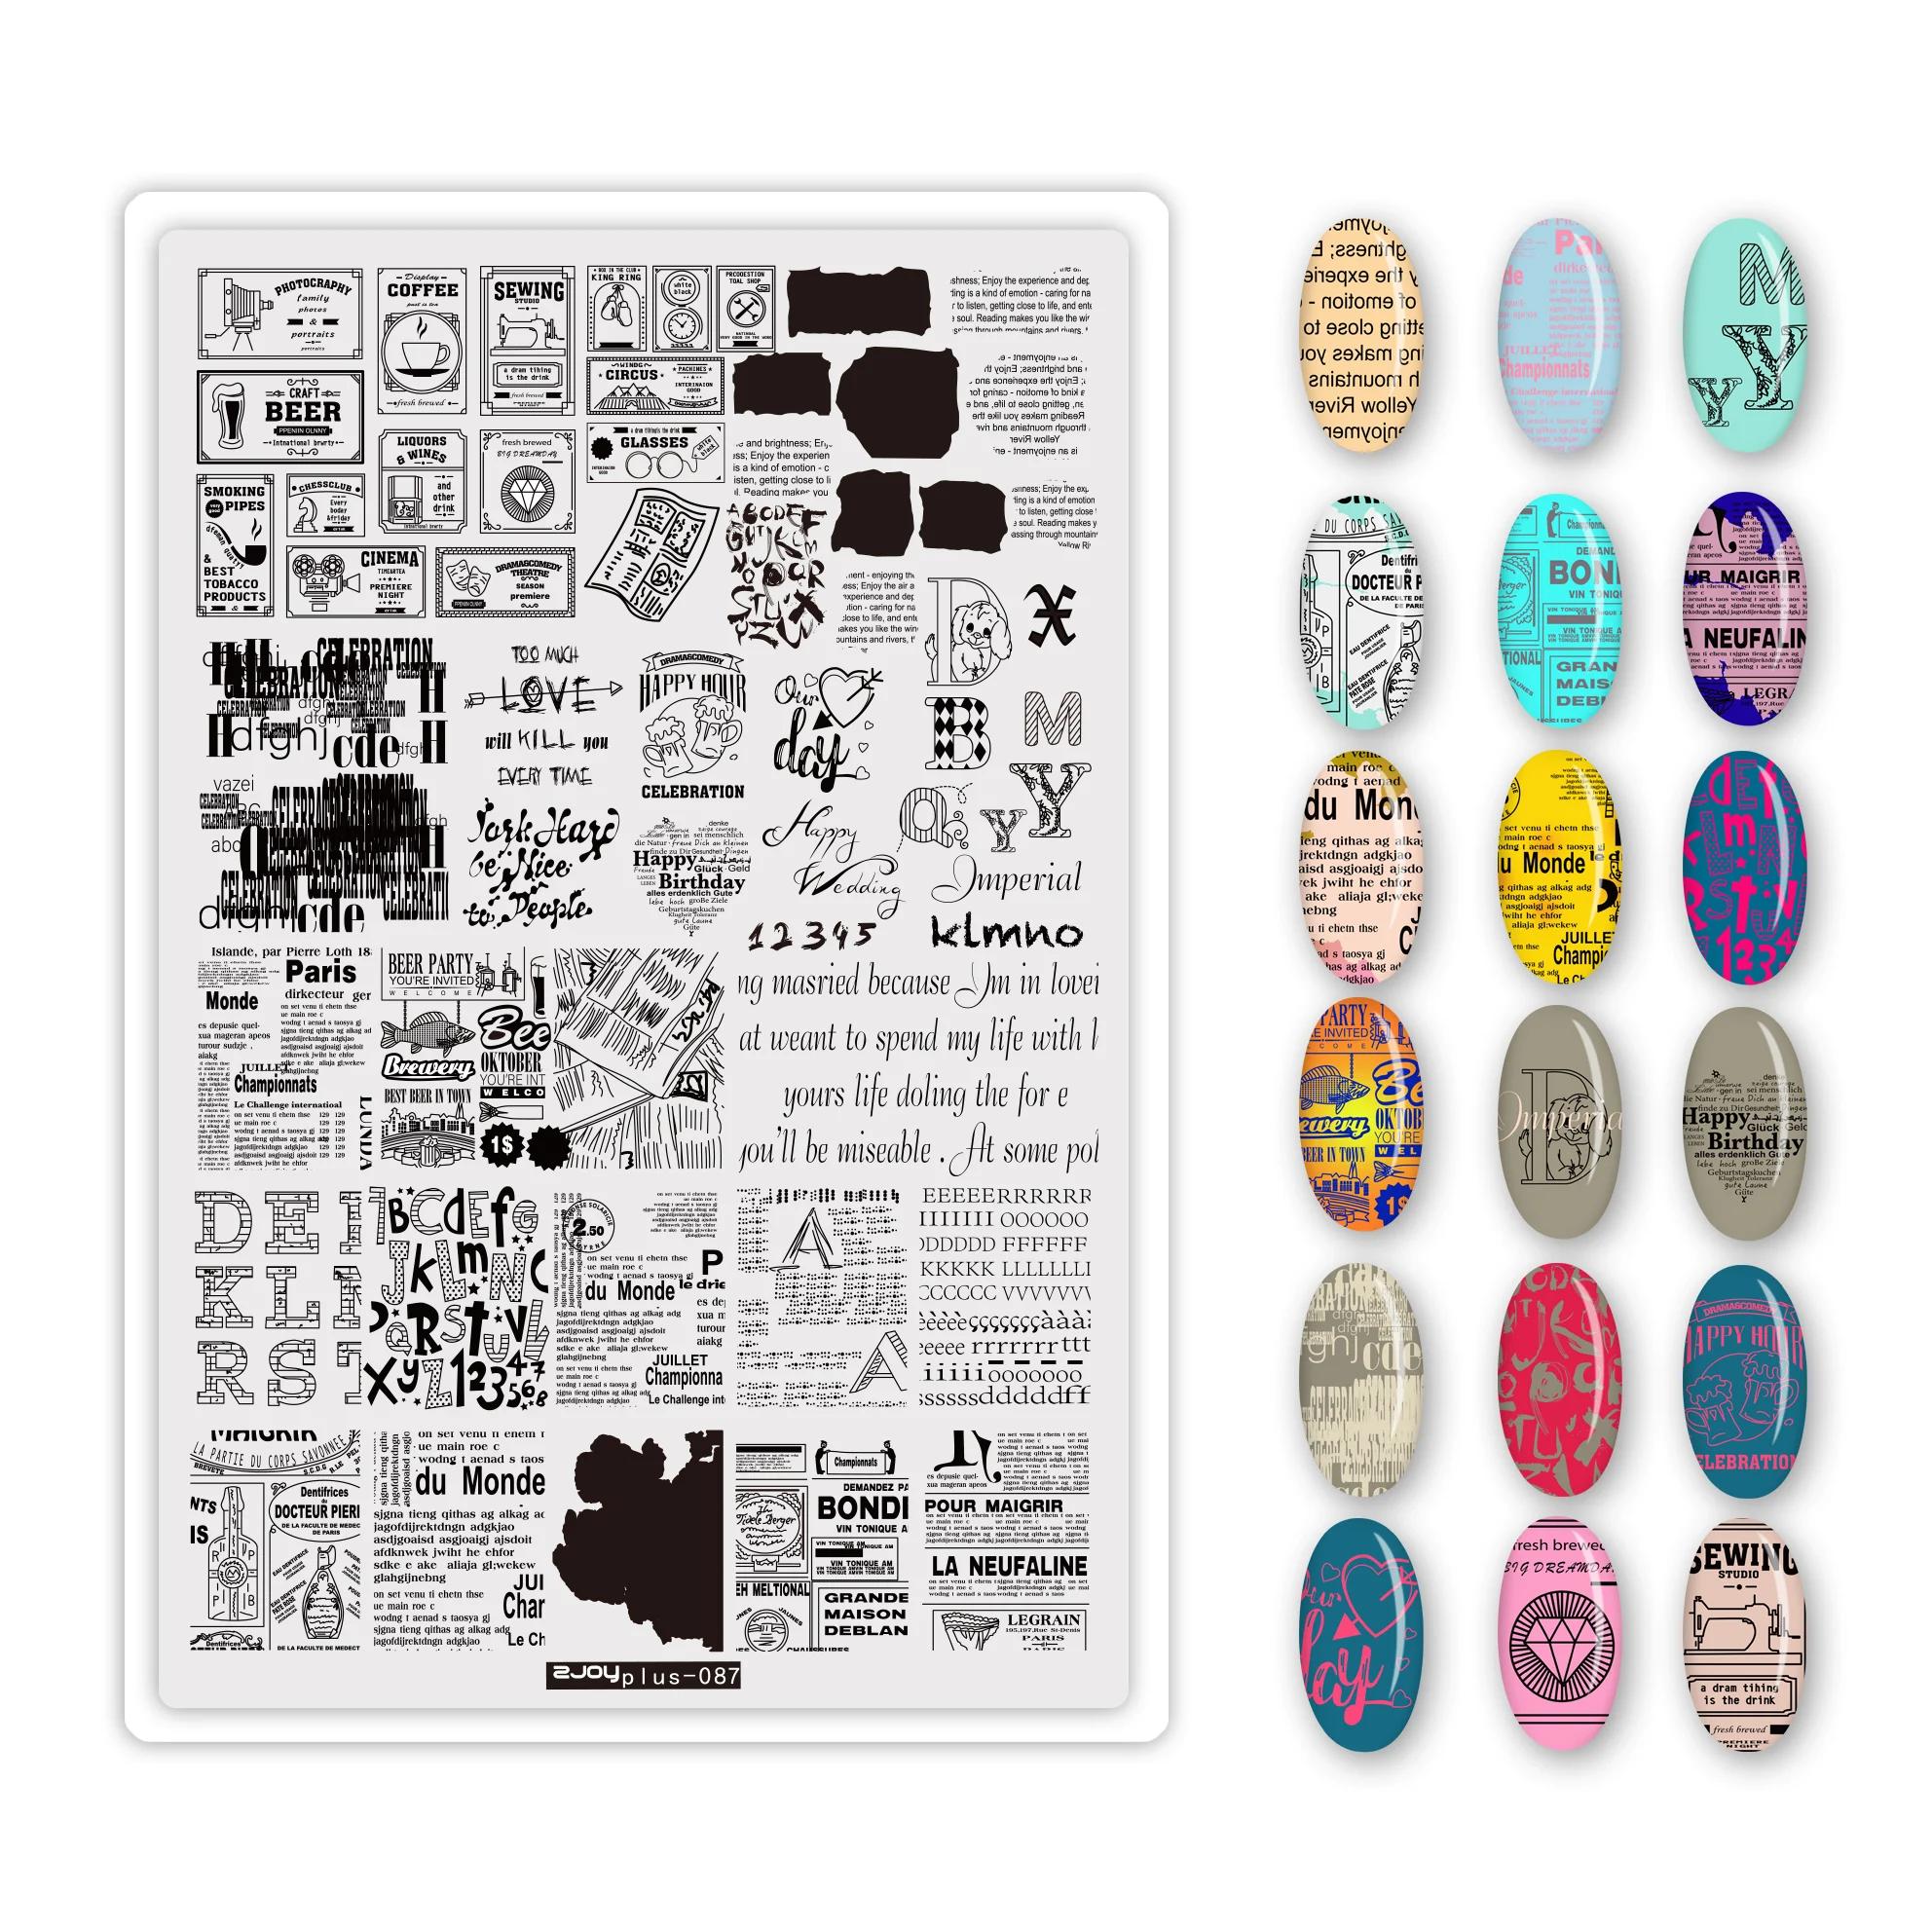
Specification:
Quantity: 1 Pc
Pattern: As the pictures show
Size: 12cm * 6cm(Rectangle)
Size: 6cm * 6cm (Square)
Diameter: 5.5cm (Round)
Material: Stainless Steel
Package Contents:
1Pc Nail Stamping Plates
Feature:
brand new and high quality.
It is very convenient and easy to use.
Fit your need to create beautiful looks.
Suitable for professional use and home use.
Unique Plate Design
Plate is made of stainless steel;
Size: 4.72in*2.36in, 35g per plate;
Well etched and Moderate depth;
Blue protect film (tip: remove before using).
Feature:
◎It make your nails look elegance and special.
◎Suitable for your party or fashionable look..
◎Great for both professional nail specialist or nail art learner.
Usage:
1. Apply base coat or regular polish on the nail.
2. Apply the nail polish to desired image within a plate. (Recommended: Use the Solid Color Nail Polish, so that the texture will be thicker than other nail polish).
3. Make a scraper leaned over 45 degrees and scrape excessive polish off quickly and strongly from inside to outside.
4. Immediately press the stamper with a gentle rolling motion to pick up the design. The image is transferred on the stamp.
5. Stamp the image on your nail with a gentle rolling motion. The image is transferred on your nail.
6. Repeat the above steps for all of your nails.
7. After nail art stamping, apply top coat for lasting wear.
We will try our best to serve you.
If you have any questions, the email sent to us, we will answer for you in 24 hours.


 배송기간
배송기간